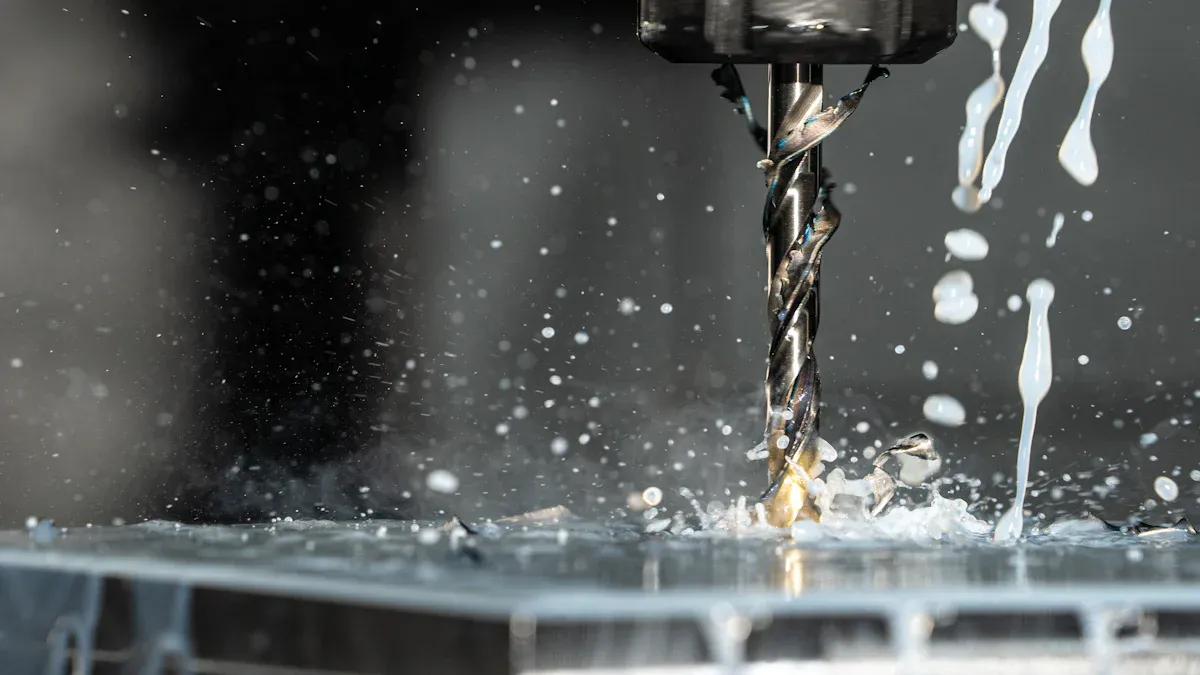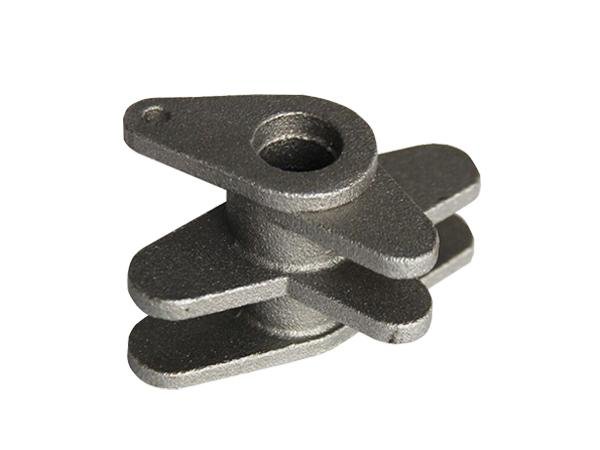
Cast iron sanding is a popular surface treatment used to smooth rough cast iron and remove surface rust, though experts disagree on whether it is always necessary. It effectively eliminates rust and surface flaws to improve part finish, yet well-maintained cast iron components often do not require sanding. Operators must wear standard safety gear to prevent dust hazards during operation. For high-precision custom cast iron parts, professional manufacturers like KEMING offer standardized finishing and rust treatment solutions.
Key Takeaways
- Sanding cast iron helps get rid of rust and makes rough spots smooth. But you should only do this if the damage is really bad. – You must always wear safety gear. This includes goggles and a dust mask. These protect you when you sand. – After you finish sanding, you need to fix and season your cast iron. This stops rust and keeps it non-stick.
Sanding cast iron
When to sand cast iron
You might want to sand cast iron for several reasons. Many people choose this process to remove rust, smooth out rough spots, or restore old cookware. Some cooks believe a smoother surface helps food release better. Others say a little texture helps seasoning stick to the pan. If you see deep rust, pitting, or flaking on your cast iron skillet, sanding can help restore the surface. You may also want to sand if you buy used cast iron cookware and want to start fresh.
However, sanding is not always necessary. Many manufacturers design cast iron with a slightly rough surface. This texture helps oil bond during seasoning. If your pan only has minor rust or buildup, you can often clean it with steel wool or a vinegar bath. Sanding down your pan should be a last resort for heavy damage or if you want a very smooth finish.
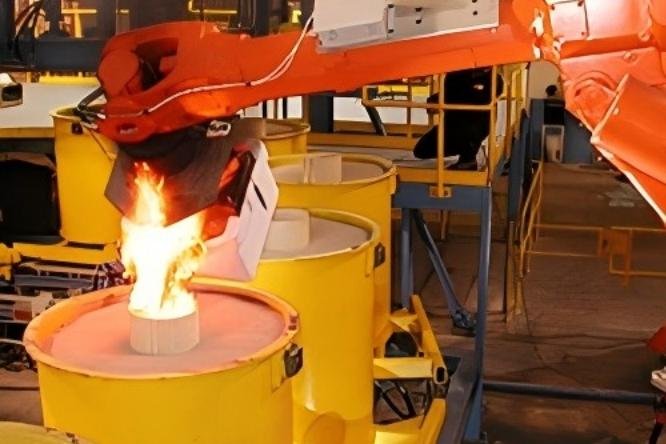
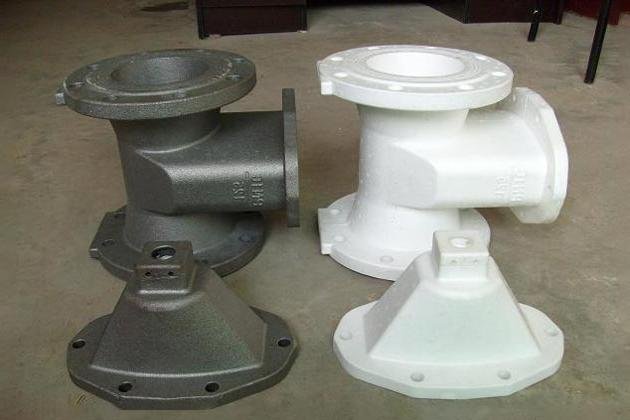
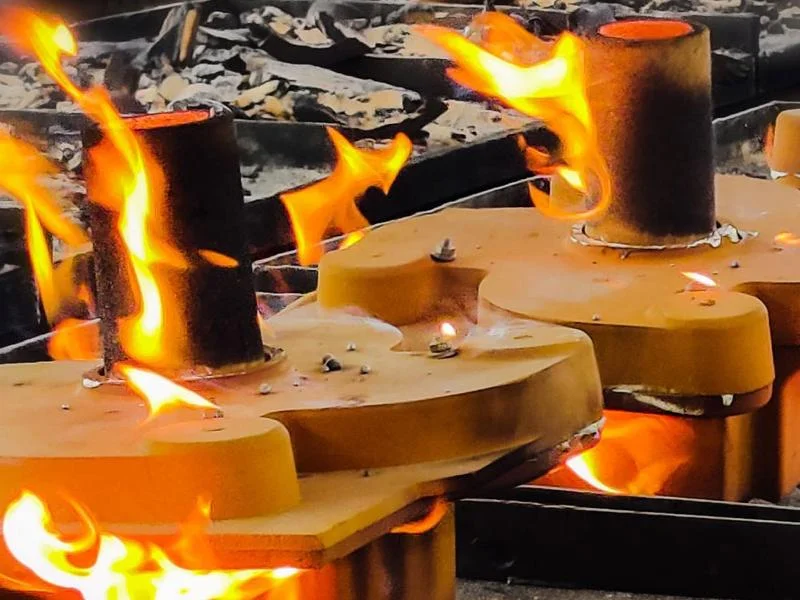
Professional manufacturers, like KEMING, use advanced casting methods to produce custom cast iron parts with smooth finishes. These processes reduce the need for manual sanding and deliver consistent quality for wholesale and factory orders.
Tip: Always check if your cast iron really needs sanding. Sometimes, a good cleaning and re-seasoning will do the job.
Tools and materials
You need the right tools and materials to sand cast iron safely and effectively. Here is a list to help you get started:
- Coarse grit sandpaper (60-80 grit) for removing rust and smoothing rough spots
- Medium grit sandpaper (120-150 grit) for further smoothing
- Fine grit sandpaper (optional, for a smoother finish)
- Sanding block or electric hand sander
- Steel wool for rust removal
- Protective gloves and safety goggles
- Dust mask to avoid breathing in particles
- Clean cloths for wiping down the surface
- Soap and water for washing after sanding
You can use a sanding block for more control, especially on flat surfaces. An electric hand sander works faster but can remove too much material if you are not careful. Power tools can finish a cast iron skillet in about 23 minutes, while hand sanding can take over 20 hours. Always monitor your progress to avoid thinning the pan.
Before sanding, remove as much rust as possible. You can use a vinegar bath, lye bath, or even electrolysis for heavy rust. Steel wool and mineral spirits also work well for light rust. These methods help prepare the surface and make sanding easier.
Step-by-step process
If you decide to sand your cast iron, follow these steps for the best results:
- Remove rust using steel wool, a vinegar bath, or other cleaning methods.
- Wash the cast iron with soap and water. Dry it completely.
- Start with coarse grit sandpaper (60-80 grit). Sand in circular motions to smooth rough areas and remove old seasoning.
- Switch to medium grit sandpaper (120-150 grit) for further smoothing.
- For a smoother finish, use fine grit sandpaper, but do not aim for a mirror finish. Some texture helps seasoning stick.
- Pay extra attention to corners and crevices. Use hand sanding for these spots.
- Wipe away dust and debris with a clean cloth.
- Wash the pan again with soap and water. Dry thoroughly.
- Strip all old seasoning and expose bare iron.
- Apply two layers of seasoning to protect the surface:
- Preheat your oven to 450–500°F.
- Place aluminum foil on the bottom rack to catch oil drips.
- Rub a thin layer of oil on the pan. Place it upside down on the center rack.
- Bake for one hour. Let it cool, then repeat.
Note: Do not over-sand. Removing too much material can weaken your cast iron pan.
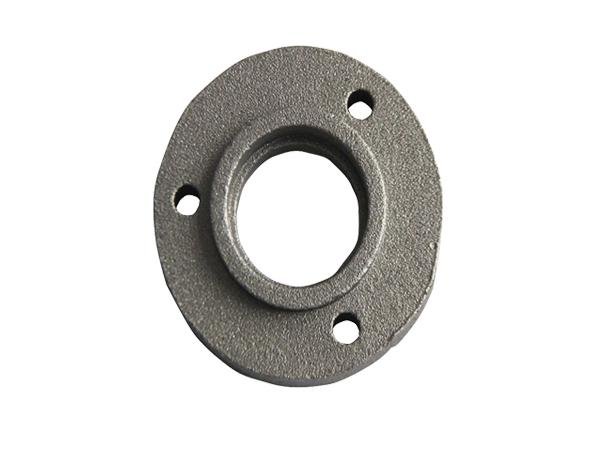
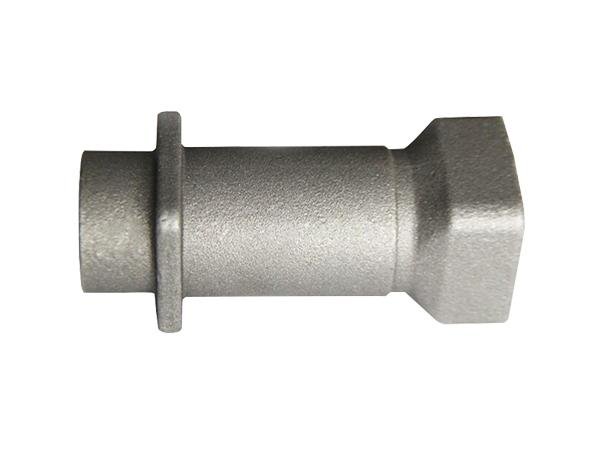
If you want to know how to smooth your cast iron pan without the risk of damaging it, consider professional solutions. Manufacturers like KEMING use investment casting to create parts with high precision and smooth finishes. This process reduces labor costs by up to 60% and cleaning time by 90%. You get custom cast iron parts that meet strict industry standards, perfect for wholesale or factory supply.
| Benefit | Description |
|---|---|
| Smoother parts | The casting process results in parts that are smoother, reducing finishing work. |
| Reduced labor | Labor costs drop by 40%-60% due to faster processes. |
| Minimal cleaning time | Cleaning time is reduced by 90%, leading to less manual intervention. |
| High precision | Parts come out so precise that they require minimal machining. |
If you need large quantities or custom cast iron components, working with a supplier like KEMING ensures you receive quality products with minimal need for manual finishing.
Cast iron safety and care
Safety tips for sanding
You must protect yourself when working with cast iron. Always wear safety goggles to shield your eyes from dust and small particles. Use gloves to prevent cuts and keep your hands clean. A dust mask helps you avoid breathing in fine particles. Work in a well-ventilated area to keep the air clear. If you use power tools, keep your workspace organized and free from clutter.
Risks and precautions
Sanding cast iron can create risks if you do not follow proper steps. Dust from cast iron can irritate your lungs and eyes. Hot spots may form if you use power tools for too long in one area. Uneven sanding can damage the surface or make your cast iron skillet thinner. To avoid these problems, check your progress often and use gentle pressure. Do not rush the process. Manufacturers note that a rough surface on cast iron cookware helps seasoning oils stick better. If you sand too much, you may make seasoning more difficult.
Tip: Always clean up dust and debris after you finish. This keeps your workspace safe and your cast iron ready for seasoning.
Restoring and seasoning after sanding
You need to restore and season your cast iron after sanding to prevent rust and keep its non-stick properties. Follow these steps:
- Wash your pan with warm, soapy water. Dry it completely with a lint-free cloth.
- Apply a thin layer of cooking oil to the entire surface, inside and out.
- Preheat your oven to 450–500°F. Place aluminum foil on the bottom rack. Put your pan upside down on the center rack and bake for one hour. Let it cool in the oven.
Proper seasoning protects your cast iron and helps it last for years. This process works for all types of cast iron cookware, whether you use it at home or in a factory setting.
Cast iron limitations
Expected outcomes
Sanding cast iron makes the surface smoother. Your pan might feel nicer to hold. It could also get better at not sticking after you season it. But, it may not look or work like new pans from the factory. Factory pans often have a magnetite layer. This layer helps seasoning stick well. If you sand it off, your pan can turn shiny. It might not hold seasoning as well. The sides that are not sanded usually stay black. Sanded spots can look different.
Note: Even if you are careful, your pan may look or cook differently after sanding.
Common challenges
You can run into problems when working with cast iron. Some mistakes are common:
- If you skip grits, you get deep scratches.
- Too much pressure can make dents or bend the pan.
- Using sandpaper for wood instead of metal is a mistake.
- If you do not clean first, grease can get stuck in the metal.
- Not wearing safety gear can put you in danger from dust.
Cast iron needs more care than other pans. If you take off the oil, rust can show up fast. Always season your pan after sanding to keep it safe.
When not to sand cast iron
Do not sand if you want to keep the pan’s texture. If there is only a little rust, sanding is not needed. Sanding can hurt the pan and change how it works. Try other ways instead:
- Use a lye-based oven cleaner to take off old seasoning.
- A vinegar bath with equal parts vinegar and water can remove rust.
If you want a perfect finish or need many custom parts, work with a company that does professional casting. This way, you get good products without the risks of sanding by hand.
You can sand cast iron, but you should think carefully before starting. Many users find that sanding changes how cast iron cookware works.
- Sanding works well if you use the right grit and check your progress.
- Some users say seasoning flakes off after sanding.Try professional help from KEMING for custom cast iron parts.
FAQ
Can you sand cast iron cookware at home?
You can sand cast iron cookware at home. Use proper safety gear and follow each step carefully. Manufacturers recommend professional help for large orders.
What is the best grit for sanding cast iron?
Start with 60-80 grit for heavy rust. Move to 120-150 grit for smoothing. You should avoid sanding too much to protect the pan.
Should you sand cast iron before seasoning?
You should sand cast iron only if the surface is damaged or rough. Sanding helps seasoning stick, but factory pans often have a good texture already.